Going to the shopping mall is always an engaging experience for the senses, so much so that over the years it has ended up becoming a real form of entertainment, a fun way to spend your time during a rainy afternoon. Dazzling lights and bright colors, it is the advertising itself that makes the experience stimulating.
And for enthusiasts, the big electronics stores are the place to spend the most time. Technology of all kinds and for every use, and when you get to the section dedicated to televisions, there are giant screens showing looped videos of cut fruit and sunsets in colors so strong as to capture every eye, against backgrounds of such a deep black that they seem impossible. And in fact, this is precisely what it is about: unnaturalness.
The eye of the image and video expert at the sight of televisions in a shopping center certainly does not marvel, but rather begins to cry with displeasure. Because yes, many of the expensive screens in stores often have great potential too, but stores deliberately calibrate them so that they capture every eye’s attention at the expense of expressing true quality. The presence of other screens in the immediate vicinity, the intense LED lighting of the room and the same presence of saturated colors in the surroundings on labels and appliances leads televisions in shopping centers to have extreme contrast and saturation to be noticed.
Once sold, most televisions are installed in the consumers’ homes, plugged in, and turned on. Very few people spend the five minutes it takes to check the brightness and color settings before using the screen, and even the few people who do end up choosing from manufacturer-preconfigured modes such as “cinema mode”, “sport”, “standard”, “bright” etc… And although these modes are the result of careful calibration by the manufacturers, they cannot take into account variables essential to the final result which determine the outcome of the calibration and which can only be known following on-site installation: room brightness and light distribution first, type of content you are going to watch, characteristics of signal from the source and more.
But so, How do you calibrate a screen image?
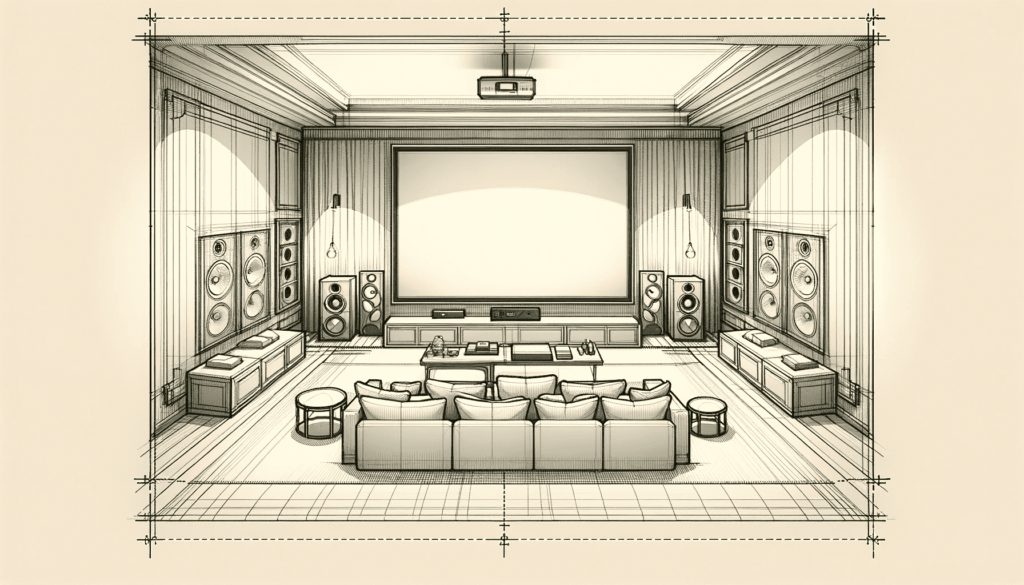
Given that a calibration performed professionally can take even hours in the most demanding cases (as in the case of some top-of-the-range Home Cinema projectors) and that to be performed it requires professional equipment that can cost thousands of euros, it is however advisable to carry out at least an eye check when buying a new TV or projector.
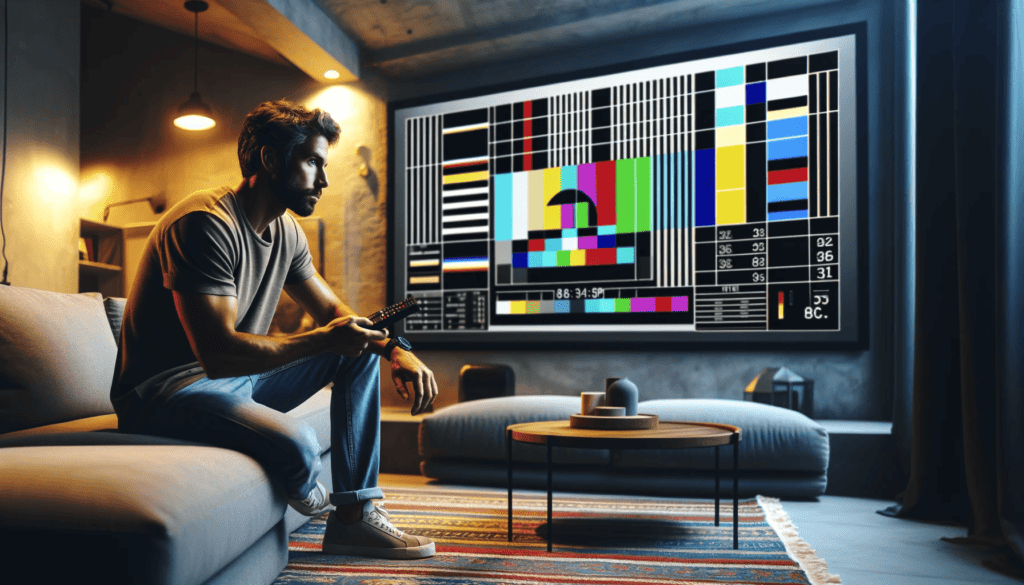
Better to avoid tools worth a few hundred euros and rely on the good old system of color bars for a first elementary calibration, below is the SMPTE color bar that we will use as an example.
How about using a color bar?
First, the color bar must be projected on the installed screen and in the environment with the same lighting conditions as those in which the screen will be used, and with a signal coming from the same source that will be used (for example, if we calibrate a projector that we will use to watch movies played from a BluRay player, we will have to connect the Bluray player to the projector, and have the file with the image read by the same reader, notinserting the USB stick with the image into the projector itself or connecting our PC).
At this point, we can proceed with the first stage: through the device settings, let’s check that contrast and brightness are set to intermediate values (50%)
We are ready to calibrate brightness:
from the settings, we adjust the color level up to 0, in order to have a completely black and white image, we observe at this point that the black bars at bottom right are not all the same, but some appear lighter than others, at least one in particular. Changing the brightness level, let’s adjust it so that all the stripes appear the same, or, so that the line dividing one bar from the other is no longer visible.
Keeping the black and white image, let’s now check the contrast level, so increase it to maximum and we verify that the black bars remain indistinguishable as indicated above, if not, we decrease the contrast just enough to make them indistinguishable as indicated in the previous step.
By acting again on the brightness settings, we will know that we have correctly calibrated the screen when only one of the black bars at the bottom right (the one we had already noticed at the beginning, usually the second or third counting from the left) will be slightly visible.
It’s time to start the color calibration:
Through the settings, we select “blue color only”, so that only the blue color is projected, if this setting is not available, we can instead use a transparent blue plastic sheet (specifically produced for the calibration of the projectors) applying it to the wall and keeping the image in black and white.
By adjusting the color level, let’s make the top bars left and right look equal, or in any case as similar to each other as possible (note that just below the long bars in question there are smaller bars, which represent a reference to each other, so that we will know that we have calibrated correctly once we will see on the diagram a long vertical bar on the sides as continuous and similar as possible).
There is no need to worry if the bars are not absolutely identical to each other, only very few (and expensive) screens are able to obtain perfect color rendering in this way, the important thing to do a good job is make the bars look as similar as possible.
Keeping the settings on the blue light, let’s focus now on the two bars near (left and right) to the central bar.
Acting on tint level, we proceed in the same way we calibrated before: the goal is to bring the two bars adjacent to the central one to be as identical as possible.
Finished! We just have to remove the display of only the blue color, save the settings and our screen is now calibrated and ready to display true-to-life, natural-colored images and videos.
As stated, this calibration is not comparable to that performed by industry experts, who use professional colorimeters and advanced software to guarantee the most reliable result possible.
We at CELESTIAL.VIDEO deal with the image calibration of televisions and projectors with different image production technologies, issuing our certification once the work is done.
Unlike others, we perform calibrations on the products we sell always at the final installation site, an essential requirement for us in order to obtain a result in line with the highest quality. And our calibration starts even before the final installation phase, in fact we can carry out inspections even before purchasing the products, in order to carry out light measurements and best recommend the right projector and screen or television to be used in that particular context.
If you are looking for the best for your Home Theater / Home Cinema system in Europe, look no further!
Get to know CELESTIAL.VIDEO, our passion is at the service of your project.